.png)


Coming home from the hospital with surgical drains can be a little daunting. Seeing tubes and bulbs attached to your body is a new experience for most people, but I want to reassure you—this is a completely normal and very important part of your initial healing after a mastectomy.
Think of these drains as your body's little helpers. They're simply small, flexible tubes that gently remove the extra fluid that naturally builds up at the surgical site. This simple step is key to preventing uncomfortable swelling and significantly lowering your risk of infection, which helps your incision heal beautifully.
Why You Have Drains and How They Work
After a mastectomy, your body sends fluid to the area where tissue was removed as part of its natural healing response. Without a little help, that fluid can get trapped under the skin and form a pocket called a seroma. Seromas can be uncomfortable, slow down your healing, and even lead to an infection. That’s precisely why we use surgical drains.
The most common type you'll see is the Jackson-Pratt (JP) drain. It’s what’s known as a closed-suction system, which sounds technical, but it’s really just a gentle vacuum that continuously pulls fluid away from the surgical site as it's produced. It’s a simple but incredibly effective way to help the layers of your skin and tissue knit back together cleanly and quickly.
Understanding the Parts
Your drain system is actually pretty straightforward once you get familiar with it. There are just a few key parts that work together to keep you comfortable and help you heal.
Let's break down what you're looking at with a quick summary.
Your Surgical Drains at a Glance
Getting to know these components will make your daily care routine feel much more manageable.
The Purpose of Drain Management
Taking care of your drains is a temporary, but crucial, job. It's not just about emptying them; it's about tracking your body's healing progress. In fact, closed-suction drains are used in as many as 80–90% of mastectomies that involve surgery in the armpit (axilla).
Your surgical team will rely on the daily log you keep of the fluid output to know when it's the right time to take the drains out. We're typically looking for the total amount to consistently be less than 20–50 mL per day.
Your drains are a positive sign that your body is actively healing. They prevent complications that could otherwise interfere with your recovery from breast cancer surgery.
Learning to manage your drains is one of the first hands-on roles you'll play in your own recovery. As you continue on this path, we encourage you to learn more about the different types of breast cancer treatments available to feel more empowered in your journey.
Getting into a Groove: Your Daily Drain Care Routine
At first, managing surgical drains can feel a bit intimidating, but I promise it quickly becomes just another part of your day. The key is to find a calm, consistent routine that works for you. This isn't just about following steps; it's about taking an active, confident role in your own healing journey.
The whole point of a drain is to gently pull fluid away from your surgical site to prevent it from building up under your skin, which helps you heal better. This simple diagram shows exactly what's happening.
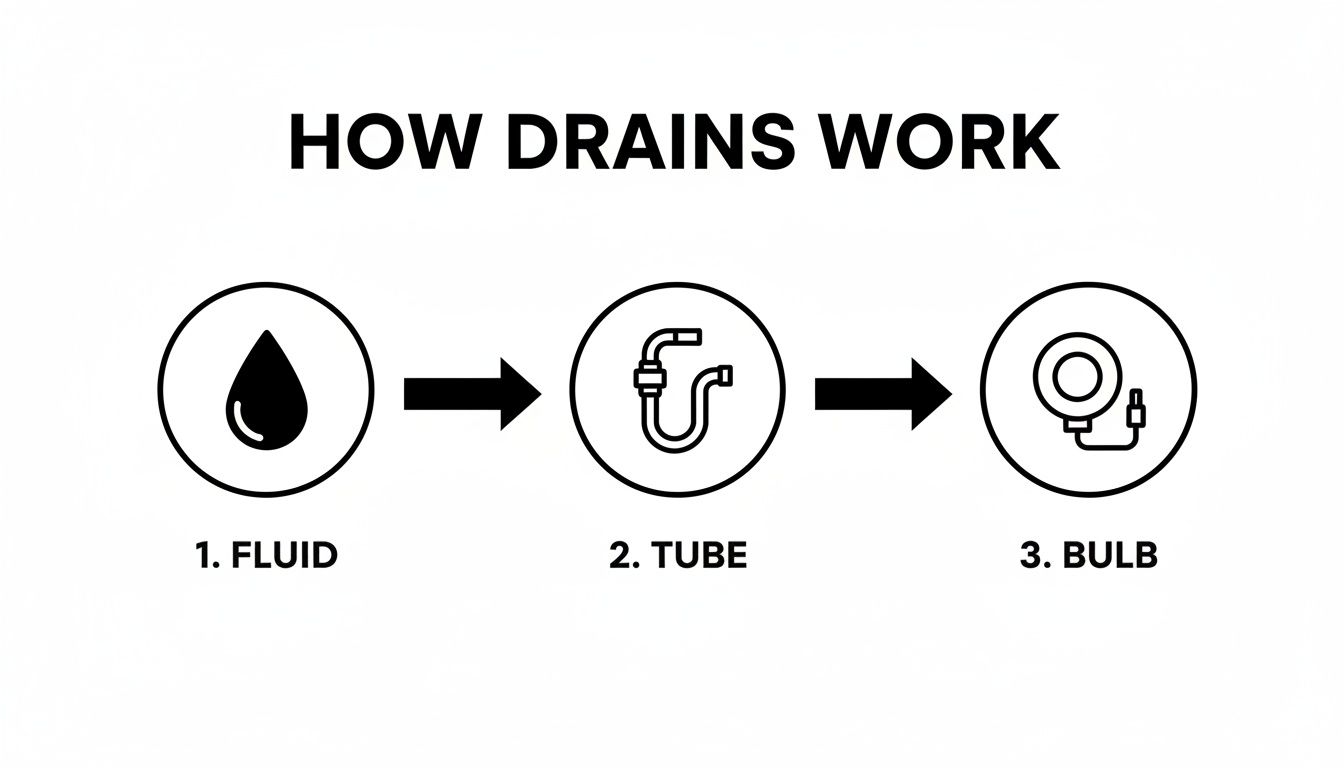
As you can see, the fluid travels from the surgical area, through the thin tube, and into the collection bulb. Your job is to simply empty that bulb and keep things flowing smoothly.
Set Up Your "Drain Station"
The best advice I can give is to set yourself up for success before you even start. Find a clean, flat spot—the bathroom counter usually works perfectly—and make it your dedicated drain care station. Lay everything out so you’re not fumbling around later.
Here's what you'll need:
- Your drain output log sheet (the hospital will give you one, but any notebook works) and a pen.
- The small measuring cup provided by your care team.
- A few alcohol swabs.
- Clean hands! This is non-negotiable. Wash your hands really well with soap and warm water every single time.
Having your little station ready to go makes the whole process less of a chore and much less stressful.
How to Empty and Measure the Fluid
You'll get into a rhythm of emptying your drains about twice a day, usually once in the morning and once at night.
When you're ready, hold the bulb firmly and pop open the little plug on top. Don't touch the opening itself. You'll see the bulb inflate a bit as the vacuum seal breaks.
Now, just tip the bulb upside down over your measuring cup and squeeze all the fluid out. You might have to give it a few good squeezes to get every last drop. Set the empty bulb down on your clean surface for a moment.
Look closely at the measuring cup—the lines are marked in milliliters (mL) or cubic centimeters (cc), which are the same thing. Write down the date, time, and the exact amount for each drain on your log sheet. Be sure to label them correctly if you have more than one!
Getting the Suction Going Again (and Keeping Tubes Clear)
Once you’ve recorded the output, it’s time to reactivate the suction. This is the most important part. Squeeze the bulb until it's as flat as you can get it, forcing all the air out. While it's still compressed, pop the plug back in securely. The bulb should stay flat, which tells you the gentle suction is back on and doing its job.
Sometimes you’ll see little stringy bits or tiny clots in the tubing. This is normal, but we don't want them causing a blockage. Your nurse will show you a technique called "stripping" or "milking" the tubing to keep things clear.
A Quick How-To from a Pro: To strip the tube, pinch it firmly with one hand right where it comes out of your body. Take an alcohol wipe with your other hand (it gives you a better grip) and, squeezing the tube, slide your fingers down its entire length, pushing any clots toward the bulb. Do this a couple of times each time you empty the drain.
Taking these simple steps ensures your drains work properly, which is a huge part of your recovery. If you're looking for more information on the bigger picture of healing, our guide on what to expect after breast cancer surgery can be a really helpful resource.
Tips for Living Comfortably and Safely with Drains

Learning to live with surgical drains is mostly about finding clever ways to manage your daily routine. The main goal is simple: move around and rest comfortably without pulling on the tubes or putting any stress on your incisions. With a few practical adjustments, you'll quickly get the hang of it and feel much more secure.
The biggest hurdle for most people is just figuring out what to do with the drain bulbs themselves. If you let them dangle, they can pull and cause a lot of discomfort. So, finding a good way to secure them is the first step, and it makes a world of difference in your confidence and comfort.
Getting Dressed Without the Hassle
The right clothing can make a huge impact on your recovery. You’ll want to stick with things that are easy to get on and off without having to lift your arms over your head. This is really important for protecting your limited range of motion and avoiding any accidental tugs on your drains.
Many of our patients swear by clothing designed specifically for post-mastectomy recovery, but you can also make do with what you have.
- Post-Mastectomy Camisoles: These are fantastic. They usually have soft, built-in pockets or pouches designed to hold the drain bulbs securely and out of sight.
- Front-Button or Zip-Up Tops: Think button-down pajamas, oversized flannel shirts, and zip-up hoodies. Anything that opens in the front is your friend.
- Loose, Stretchy Pants: Yoga pants, joggers, or any bottoms with an elastic waist are perfect. They're easy to pull on and won’t rub against any abdominal incisions if you also had reconstructive surgery.
You don't need to buy a whole new wardrobe. A simple trick we often share is using a large safety pin to attach the drain bulbs to the inside of a loose shirt or robe. Some people prefer clipping the drains onto a soft belt or even a lanyard worn around the waist or neck. Find what works for you.
Creating a Comfortable Sleep Setup
Good sleep is one of the most important parts of healing, but finding a comfortable sleeping position can be a real challenge at first. Lying flat on your back makes it tough to get up without using your arm and core muscles—exactly what you need to avoid.
Don't be surprised if your bed is off-limits for the first week or two. A recliner can be a lifesaver, keeping you in a supported, semi-upright position that makes getting up and down much easier.
"Be prepared to not be able to sleep in your bed for a while... I slept in a chair for a week or so before getting a wedge pillow for the bed, and that thing was awesome! I used it for about five weeks."
— Ashley, breast cancer survivor
If you prefer your bed, you can create a similar "recliner" setup with a wedge pillow or by building a supportive nest of pillows behind your back. This keeps you elevated, which helps reduce swelling and prevents you from accidentally rolling onto your side and pulling on your drains.
Managing Hygiene and Gentle Movement
Your surgeon will give you very specific instructions about bathing, and it's crucial to follow them. Most of the time, this means taking sponge baths until your drains are out to keep your incision sites completely dry and lower the risk of infection. Dry shampoo and body wipes can be a huge help in feeling fresh during this time.
While you'll have strict lifting restrictions (usually nothing heavier than 10 pounds), gentle movement is highly encouraged. Short walks a few times a day are great for preventing blood clots and stiffness. Finally, stay on schedule with your prescribed pain medication. Keeping your pain under control will make it so much easier to move around safely and take an active role in your own care.
Troubleshooting Your Drains: A Real-World Guide
Taking care of your surgical drains usually becomes second nature after a day or two. But even when you’re doing everything right, you might run into a small issue that leaves you wondering, "Is this normal?" Most of the time, the answer is yes.
Let's walk through a few of the most common hiccups we see with drains after a mastectomy. Knowing what to look for—and what to do—will give you the confidence to handle these small bumps in the road.
Is This an Infection?
Your body is healing, which means a little bit of pinkness or tenderness right where the drain comes out is perfectly normal. However, an infection will look and feel quite different. It's rare, but it's something you need to be able to spot.
Call your surgical team if you notice any of these signs developing directly around the drain site:
- Redness that seems to be spreading outwards from the tube.
- The skin feels noticeably warm or hot to the touch compared to the surrounding area.
- New swelling or hardness that wasn't there before.
- Drainage from the skin site (or in the bulb) that looks cloudy, pus-like, or has a foul odor.
- You develop a fever of 101°F (38.3°C) or higher.
Catching these signs early is the key. A quick phone call to us means we can get you on the right treatment right away and keep your recovery moving forward.
What’s This Clot in the Tubing?
It’s very common to see little stringy, dark-colored bits of tissue or thickened fluid in the tubing. Think of them as tiny traffic jams. Usually, they're no big deal and will work their way down to the bulb on their own.
But sometimes, a larger clot can get stuck and block the flow of fluid completely. This is where "milking" or "stripping" the drain comes in handy. That technique we showed you—pinching the tube close to your body and firmly sliding your fingers down toward the bulb—is designed to break up these little blockages.
If you've tried milking the tube a couple of times and the fluid still isn't moving, or if the bulb just won't stay compressed, that’s your cue to give the clinic a call.
When to Watch and When to Call Your Doctor
It can be tough to know what's a minor issue versus a reason to call the clinic. This table is a quick cheat sheet to help you decide.
When in doubt, a phone call is always the best option. We would much rather you call and have it be nothing than have you worry at home.
You know your body better than anyone. If something about your drains feels wrong or is causing you real concern, please don’t hesitate to reach out. Trust your instincts.
What If a Drain Is Accidentally Pulled Out?
It happens more often than you’d think—a tube gets snagged on a doorknob or you roll over in your sleep. If a drain gets pulled out, whether it's part of the way or all the way, the first step is to stay calm.
Immediately cover the site with a piece of clean, dry gauze. Apply some gentle but firm pressure. Do not, under any circumstances, try to push it back in.
Once the site is covered, call your surgeon’s office. We need to know about it right away. We’ll give you specific instructions over the phone, which might include coming into the office so we can take a quick look.
Getting Your Drains Removed and What to Expect Next
The day your drains come out is a huge milestone. It’s one of those moments in recovery that feels like a real turning point—a sign that you’re truly on the path to healing and getting back to a sense of normalcy. The decision to remove them isn't based on a set timeline, but on the careful records you’ve been keeping at home.
Your care team is looking for a consistent, low output. Typically, when each drain is collecting less than 30 mL of fluid over a 24-hour period for two days straight, that’s the green light. It tells us the initial, heavy drainage has subsided and your body can now handle the rest on its own.
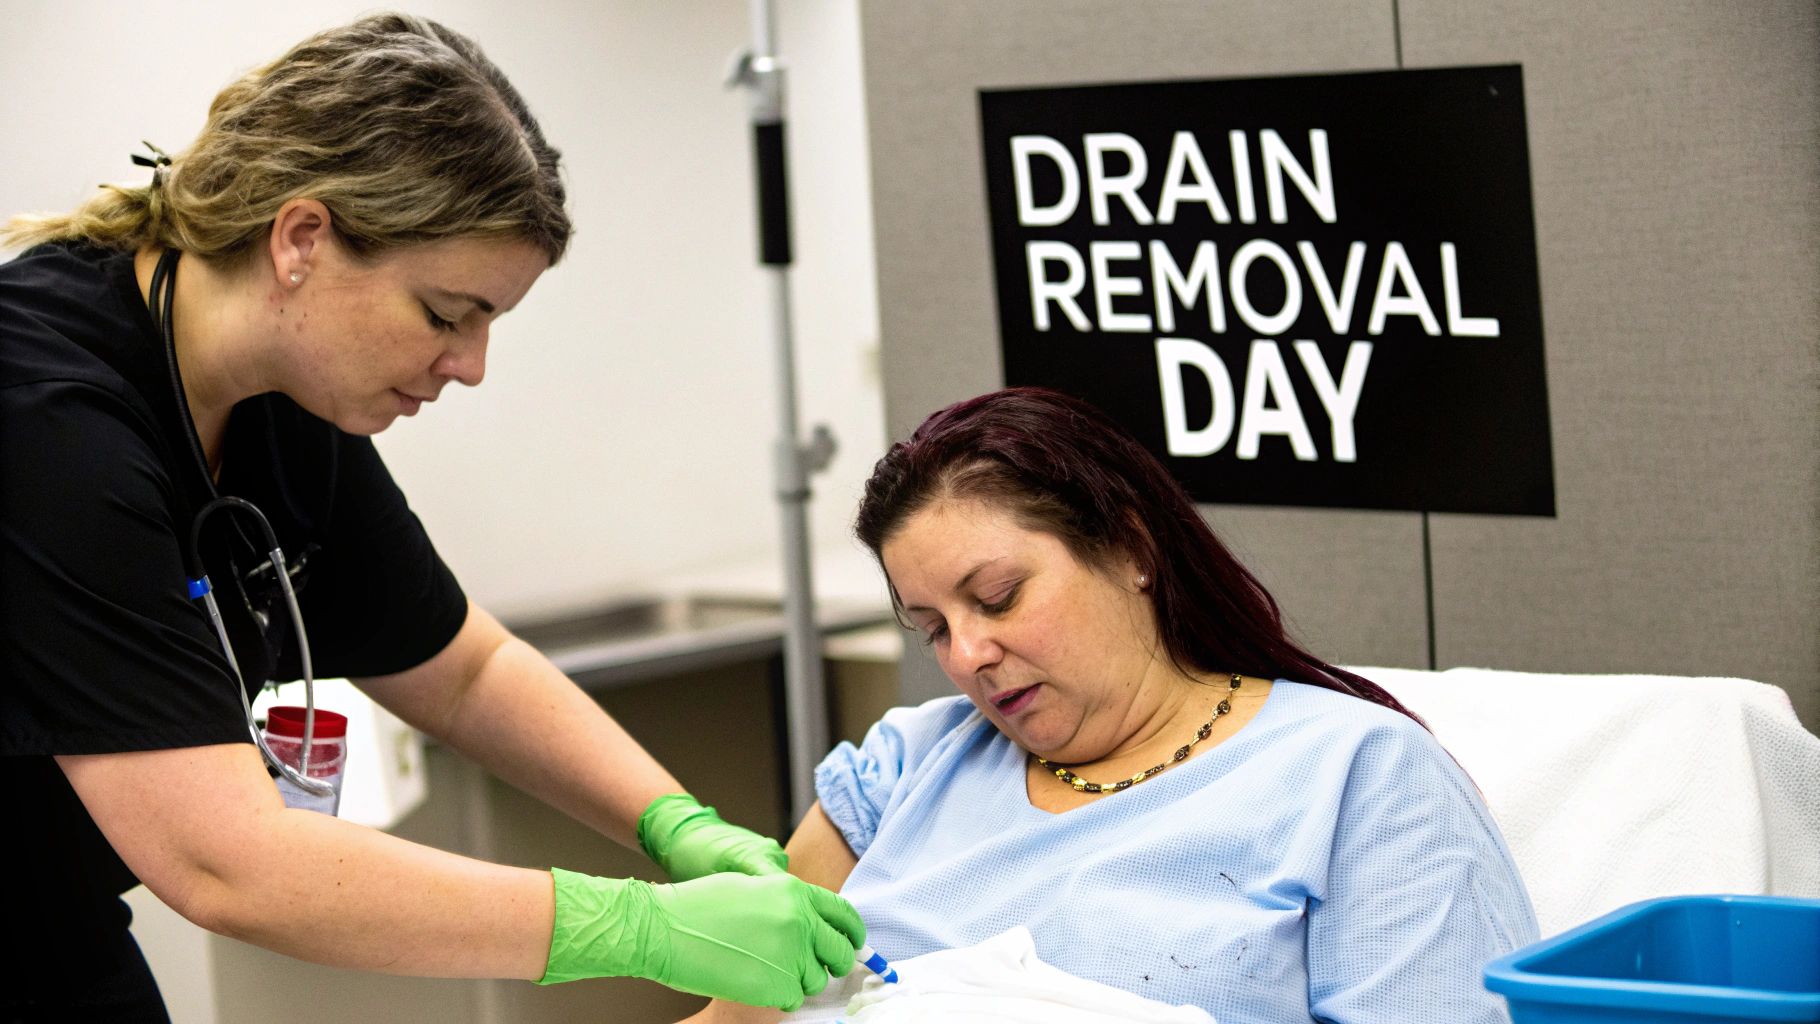
The Removal Process Itself
It’s completely normal to feel a bit nervous about getting the drains removed, but I can assure you it’s a much faster and simpler process than most people expect. We're talking seconds per drain, not minutes.
Your nurse will start by snipping the tiny stitch that holds the tube in place against your skin. Then, they'll guide you to take a nice, slow deep breath in and out. As you exhale, they’ll give the tube a quick, smooth pull. The sensation is often described as a weird “tugging” or “slithering” feeling—it’s unusual, but rarely painful. It’s over before you even have a chance to think about it.
After the tube is out, we’ll cover the small opening with a sterile dressing. You’ll need to keep that little spot clean and dry for a day or two, but you’ll be amazed at how quickly it heals up on its own.
Life Immediately After Drain Removal
The sense of relief and freedom once the drains are gone is immediate. Simple things like getting dressed or rolling over in bed suddenly become much easier. Still, it’s important to remember that your body is very much still in healing mode.
You might notice a bit of fluid, called a seroma, collecting under the skin where the drains were. This is perfectly normal. In most cases, your body simply reabsorbs this fluid over time without any issue.
Taking care of the drain sites properly is also a key part of your long-term health, especially when it comes to preventing future complications. We know from research that more extensive surgeries often mean drains are in place longer, which can be linked to a higher risk of developing lymphedema (chronic arm swelling). You can read some of the research on lymphedema risks after mastectomy to understand the connection. This just underscores how important it is to follow your team's guidance for a smooth and complete recovery.
A Few Common Questions About Mastectomy Drains
It's completely normal to have a million questions running through your mind after surgery. Getting clear, straightforward answers can make all the difference, so we've put together some of the most frequent questions we hear from our patients about their surgical drains.
What Should the Fluid in My Drains Look Like?
Don't be surprised to see the fluid change color over the first few days—that’s actually a good sign that you're healing properly.
Right after your surgery, the fluid will likely be a reddish or dark pink color. That's perfectly normal. As the days go on, you should see it lighten up, turning a pinkish-yellow or even a pale, straw-like color. This shift just means the initial bleeding has settled down and your body is now draining normal healing fluid, also known as serous fluid.
What you do want to watch for is if the fluid suddenly turns bright red again, looks cloudy, or has a bad smell. If you notice any of that, give our clinic a call. It could signal new bleeding or a potential infection, and it's always best to get it checked out.
Does It Hurt to Have Surgical Drains Removed?
This is probably the number one question we get, and I'm happy to report that it's rarely a painful experience. Most people tell us it feels more like a strange, quick pulling or tugging sensation than actual pain.
The whole process is incredibly fast—we're talking just a few seconds per drain. Your nurse will ask you to take a deep breath, and then they'll slide the tube out in one smooth, quick motion. Any odd feeling is over in an instant, and most patients are just incredibly relieved to have them out.
Can I Shower with My Drains In?
This is a big one, and the answer really depends on your surgeon's specific instructions. It is absolutely critical that you follow their advice to the letter to keep your incision sites safe.
Often, surgeons recommend sticking with sponge baths at first to ensure the area stays completely dry and minimize any risk of infection. If your team does give you the green light to shower:
- You'll need a way to keep the drains from dangling or pulling.
- Many patients find that clipping the bulbs to a simple lanyard worn around the neck works great.
- Please wait until you have explicit permission from your surgeon before you try showering.
Always double-check with your surgeon about their specific rules for bathing. Keeping those incision sites clean and, most importantly, dry is key to preventing complications and helping you heal well.
How Long Will I Have the Drains?
There's no single answer here, as it's different for everyone. But for most people, the drains stay in for about one to three weeks.
The timing for removal isn’t based on the calendar; it's based on how much fluid your body is making. This is why it’s so important to be diligent about measuring and recording the output every day. Your team is looking for that number to consistently be low—usually less than 30mL in a 24-hour period for two days in a row. Once you hit that magic number, you're in the home stretch and ready to get them out.
For more answers to common concerns, we've put together a library of answered questions and resources to help support you and your family through recovery.
.png)
.png)